It is October and that means that it is Blogtoberfest! What is Blogtoberfest you ask? It is a month of tutorials and tips! I will be posting every Sunday! I have never done tutorials before so I don't know how many I will be able to post. I will post some great ideas I have been inspired to make during the month. So for my very first tutorial I am going to show you the Cocoa Slider card! I love these and will be making many of them in the coming months! Please leave me feed back as this is my first time!

 Slider closed
 Slider open!
 First you need to cut your card stock 5" x 9".
 I love the CTMH mat! If I can't remember the size I can always measure on my mat!
 Next you need to score at 2" and 6".. It will be lopsided, you want it that way.. you will see why later.
 Next you will cut your bottom layer at 4-½" x 9".
 Then the top layer at 3" x 9".
 Now score both layers at 2",
 and at 6". I am only showing the top layer here but be sure to do both.
 Now sponge the edges with coordinating ink.. I could say that it is optional but to me it isn't... you decide.
 Now adhere the layers to the card stock. Use lots of adhesive. When you fold it all up it will tend to bow out.. that is ok because it will be filled up with the cocoa packet.
 This is how it will look when all the layers are on.... although it should be lined up a bit better... I will fix that.
 Now cut the mat for the front at 3-¾" x 2-¾".
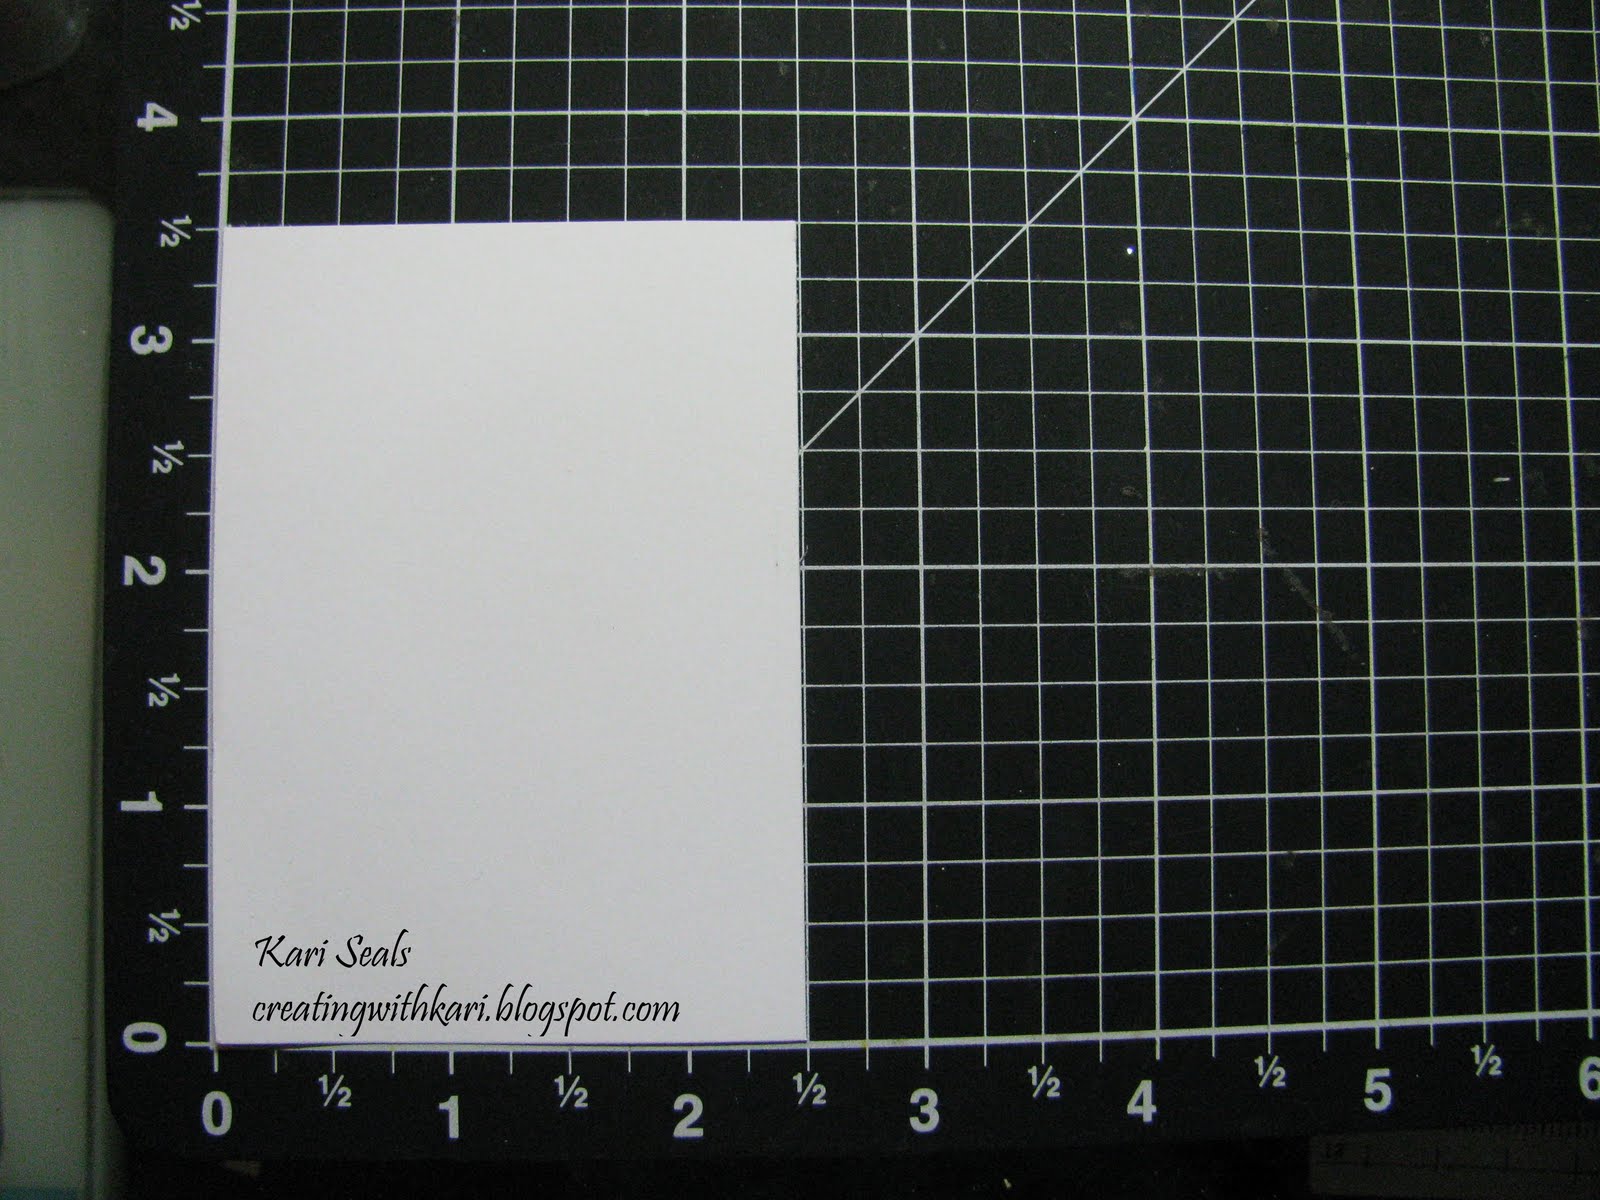 Now cut the top at 2-½" x 3-½".
 I took pictures of the stamping process but I figured you probably know how to stamp.. Tresa Black showed me a great tip about clear embossing on color.. First ink your stamp with VersaMark then with the color ink and stamp on the paper. Now you just add the embossing powder and heat, saving you the step of lining up your stamp the second time!
 Now heat the embossed image...
 Ok.. Now take the base and turn it over... Fold over the bigger side...
 then the smaller side... see it is lined up in the middle of the back now! You need it to overlap. It is a good thing.. DO NOT ADHERE IT YET!
 Next, punch a hole at the seam about 1/2 inch from the top. Now you can set it aside for a minute...
 Attach the cut out pumpkin with foam tape to the front panel. You can see that I stamped and embossed the BOO To you on the front panel...
  Center the front panel to the front of the base and attach.
 Now grab your cocoa packet and about 16 inches of ribbon. It needs to be skinny enough to fit in the hole you punched. Fold the ribbon in half and put your cocoa packet in the center.
 Lay the base on top of the cocoa packet with the ribbon.
 Pull the ribbon through the hole on the front.
 Turn the base over.
 Fold the bigger side over and pull the ribbon through the hole.
 Run adhesive along the edge of the small side.
 and seal it up!
 Now tie a knot at the top..You can also do a bow, it is up to you.
 Trim the ends of your ribbon.
 Now here is my big tip of the day! I always seal the edges of my ribbon with a lighter.. It keeps the ends from fraying! They look very nice and neat too!
 Pull the ribbon and the cocoa packet slides out! Isn't that fun!
I hope you enjoyed my first tutorial. It was a lot of fun to make! The kids helped me out by taking pictures when I needed my hands. I think I need to go make some more now! Have a great week! I will see you next Sunday!


Kari,
ReplyDeleteI lov lov lov your slider. Your tutorial and pictures are awsome. Felt like you were right here with me. May I use your pattern?
Kathie
Great tutorial Kari!! You are so adventurous to try one. It was perfect. I really want to try this.
ReplyDeleteThanks for posting. :)
Great job! Your tutorial makes it look so easy. Is that mat a new product? Can't wait to try these!
ReplyDeleteThese are great and I can't wait to try them out! I am hoping to have a table at a craft fair at the beginning of December, and these would make great gift items. Thank you!
ReplyDeletegreat tutorial and I love it. Will have to try this!
ReplyDeleteThese are fantastic. I love your tutorial. Thanks so much for sharing.
ReplyDelete